


Images
The basic image tag is written as follows:
< img src="filename"/>
Where src stands for source, and filename is either a relative or absolute root to the image including the image name and style type.
There are two main image types used in HTML, these are GIF and JPEG.
GIF
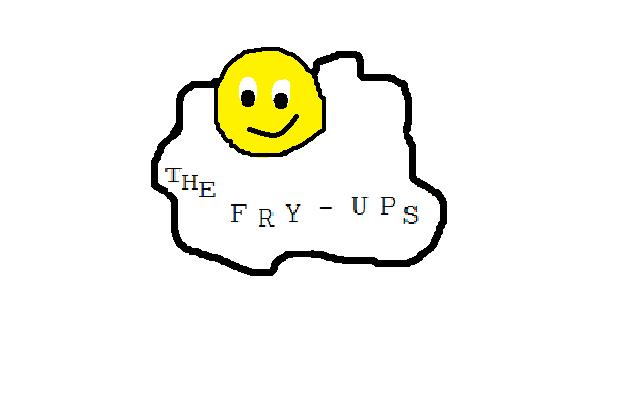
GIF, pronounced 'jif' stands for Graphics Interchange Format. This extention is best suited for cartoons and simple drawings as it has a low resolution and uses less colours than larger file types.

This is a standard GIF image, limited colours, low resolution and simple.
JPEG
JPEG or JPG, pronuced 'jay-peg', stands for Joint Photographic Experts Group, a high resolution and complex image file extention. As this file type uses many colours and pixels it is much larger and therefore takes longer for
pages to load.
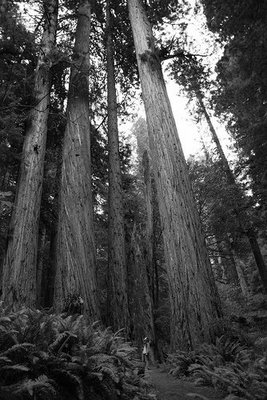
This JPG image is much more detialed, sharper and uses a wider range of colours.
Positioning images
Images positioned within a document. To understand this you must first understand that HTML lays text from left to right, and top to bottom.
If an image is the same size or smaller than the font size then it will be added to the line like a normal letter.
This is normally seen with smilies, ![]() like these ones.
like these ones.
If the images get any bigger then they start to push more space between the top of the line its places on and the one above,
![]() , like those ones.
, like those ones.
Images can be aligned within the text, either: top, centre, left or right, but by default it is aligned 'bottom', the bottom of the picture on the line of text.
To align a picture to the top of text use: [align="top"] .
To align a picture to the centre of text use: [align="middle"], note that this says middle not centre like the HTML tag centre.
If you want the text to flow around the image then the it should be aligned to the left or right of writing.
To align a picture to the left or right of text use:[align="left"] or [align="right"] respectivly.
If however you just want the image on its own on the page the the image should be within its own paragraph heading for example:
<p> <img src="images/picture1"> </p>
Height and width
Generally the height and width of an image should be given when using HTML, this will allow the page to load before the picture is downloaded, which is more important when connection speeds were lower,
but is again important as image sizes are getting bigger also. This is done by using the attributes height and width.
Height represents the number of pixels up the side of the image, width represents the number of pixels along the bottom of the image.
These attributes are given like this:
<img src="images/picture1" height="150" width="250">
If the image was a different size naturally then the browser will scale it to the new given size.
Other uses for images
Images can also be used as a background item to the page, the most commonly used method is called tiling, this is where a very small image is repeated hundreds of times next to each other.
Attention should be taken to assure that the image being used is bland, low contrast and uses evenly coloured patterns, or else the background will be the main focus of the page.
A background is incorporated to the page using this code:
< body background="filename">
Where the file name is a relative or absolute link to the image.
This is the end of this section, you can continue to the next section or try the exam to test your knowledge.
Click here to attempt the exam now.
