PuTTY
Introduction to PuTTY
PuTTY is a free SSH client for Windows platforms. The instructions below walk you through download, installation, and basic use.
VPN required for password authentication
Logging in using a password is only permitted when using the University VPN or when on campus.
Installing and Setting up PuTTY
PuTTY can be downloaded from the download link on the PuTTY homepage :-
You will most likely want the "MSI ('Windows Installer')" for "64-bit x86". Once downloaded, run the program to install PuTTY on your machine.
Start up the PuTTY application from your start menu.
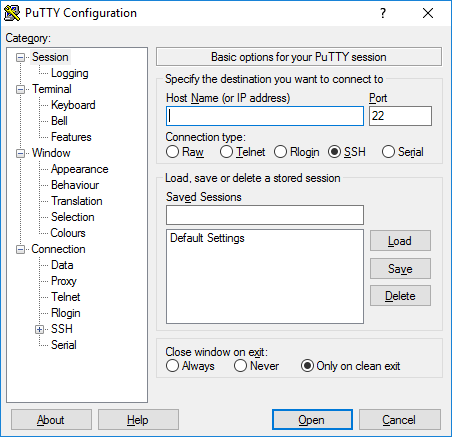
- This is the main PuTTY window.
- You will always see this when PuTTY starts up.
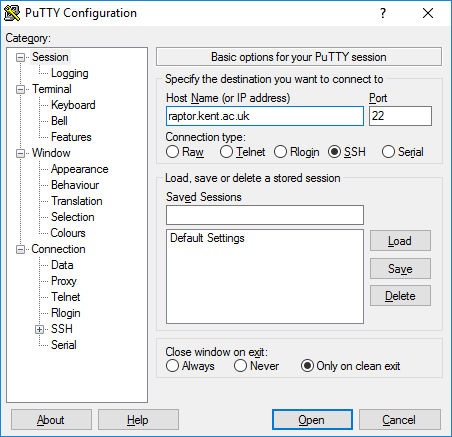
- Enter the name of the machine you want to log into the "Host Name" field.
- If not already selected, choose "SSH" from the Protocol selection just below that field.
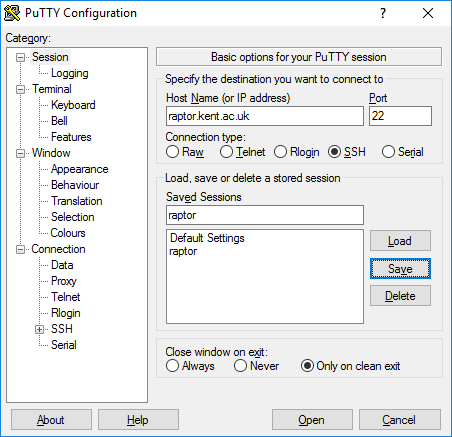
- In the box below "Saved Sessions" enter a name for the saved details - the hostname is fine.
- Click Save.
- Now to start the session you can just double click on the item in the Saved Sessions list.
Using PuTTY
Load PuTTY then select the name of the session you saved in the instructions above and double-click on it.
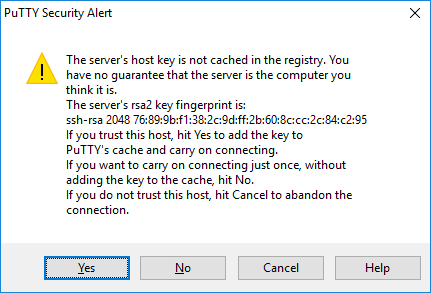
- The first time you connect to a host you might get the above message - this is normal.
- If you want to be sure there isn't an issue you can check the expected key fingerprint on the SSH Key Fingerprints page.
- Select Yes to save the key.
- This should only come up the first time you connect to a machine, and not in subsequent connections.
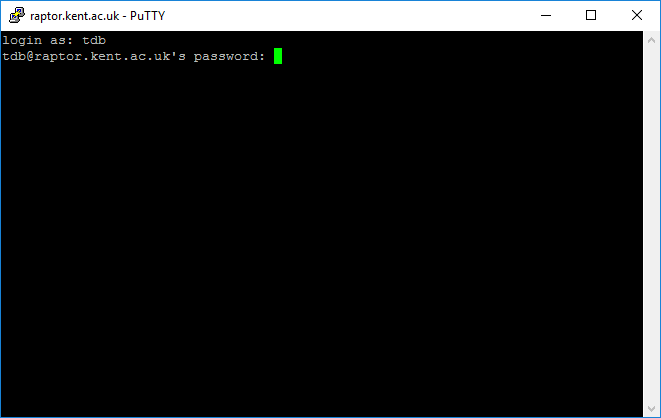
- Enter your login at the prompt.
- When asked, enter your password.
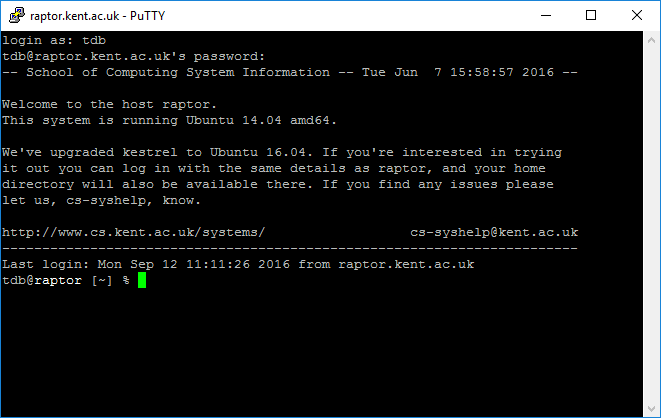
- You will now be presented with a command prompt.